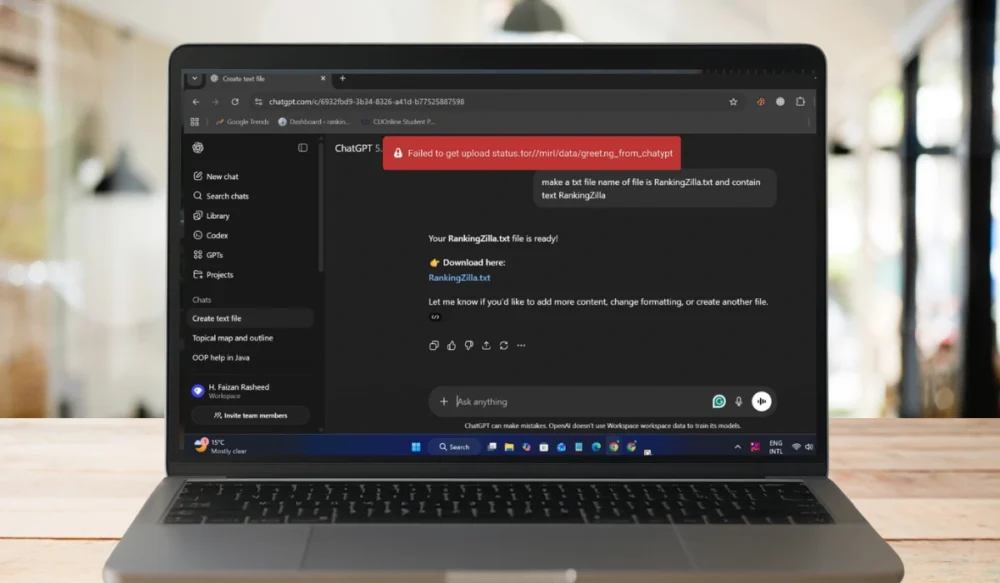
When ChatGPT shows the message “failed to get upload status,” it can feel frustrating. You are trying to upload a file, and ChatGPT stops you. Your work pauses, your tests stop, or your task cannot move forward due to this error. But don’t worry, this guide explains to you what the message means, why it pops up, how to fix it, and what you can do to keep it from coming back.
What Is the Failed to Get Upload Status Error in ChatGPT?
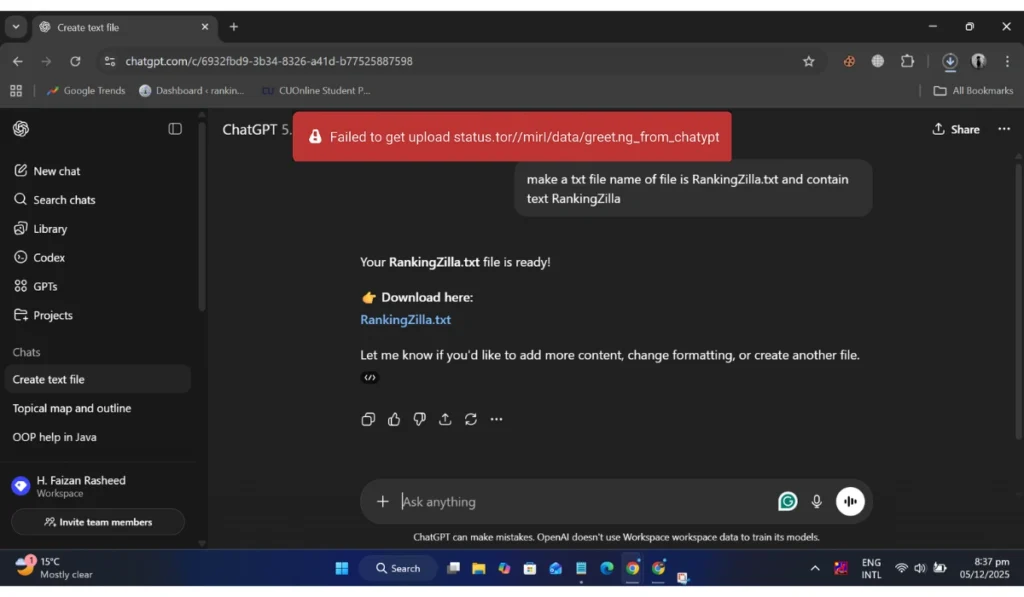
Sometimes, ChatGPT cannot confirm whether your uploaded file reached the server. The app sends your file through a network request, checks the upload status endpoint, and waits for a response. If the system cannot read that response, it shows the error. It might occur during document, image, or dataset uploads, or during API calls.
You may see this message inside the ChatGPT file upload box, in the My Files area, in browser developer tools, or in the OpenAI Files API logs. Users who work with embeddings, vector search, RAG pipelines, or model ingestion often see this error when the file never reaches the storage service or returns incomplete metadata.
Common Causes of Failed to Get Upload Status Error in ChatGPT
This error can occur for various reasons, depending on your device, network, or system settings. Below are the common causes you should know.
- Weak or unstable WiFi or mobile data
- Unsupported file format or incorrect MIME type
- Files that exceed the size or tokenization limits
- VPN, proxy, or firewall blocking OpenAI cloud servers
- Browser cache corruption or expired login session
- Upload Status Endpoint delays on the OpenAI service
- Incorrect DNS servers that break routing to api.openai.com
How to Fix ChatGPT Failed to Get Upload Status?
Fixes will depend on your system and your network. However, the steps below often resolve this issue for many users, and I hope this will work for you as well:
Fix 1: Check Your Internet Connection
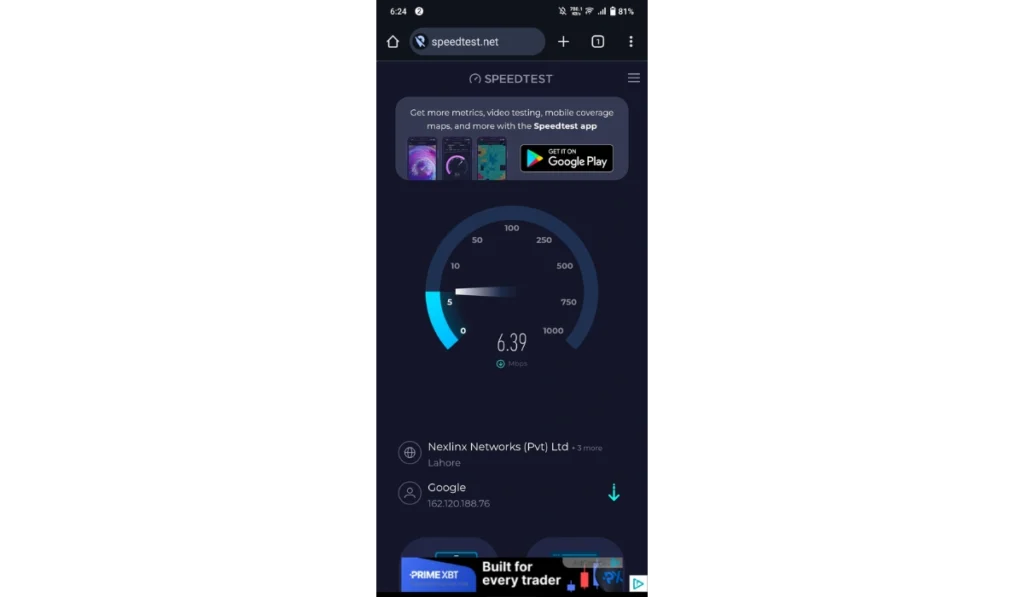
When your internet slows down, the upload request breaks. ChatGPT cannot reach the upload status server, so the message pops up. A quick network check often clears the problem because the device reconnects to the cloud endpoint.
Try these simple steps to check your network quickly:
- Turn WiFi off, then on
- Restart your router
- Try a mobile hotspot
- Move closer to the router
- Test a small upload
Fix 2: Refresh Your Browser Session
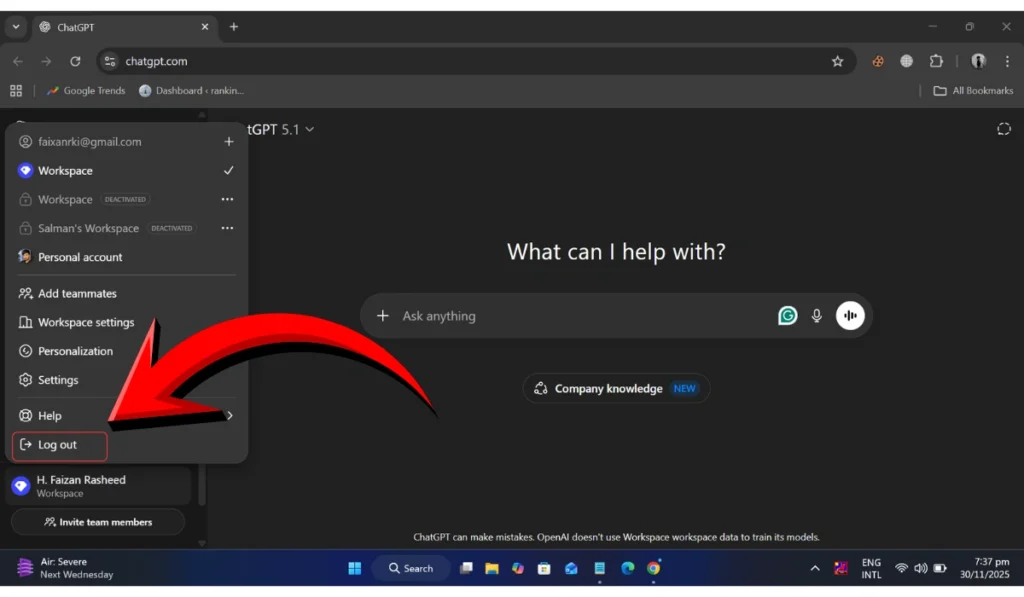
Sometimes your browser session drops. When that happens, your login token expires, and the status endpoint stops responding. A simple refresh often resets the link to the OpenAI server.
Follow the steps below to refresh your session:
- Sign out of ChatGPT
- Close your browser
- Open it again
- Sign back in
- Try the upload
Fix 3: Upload a Smaller Test File
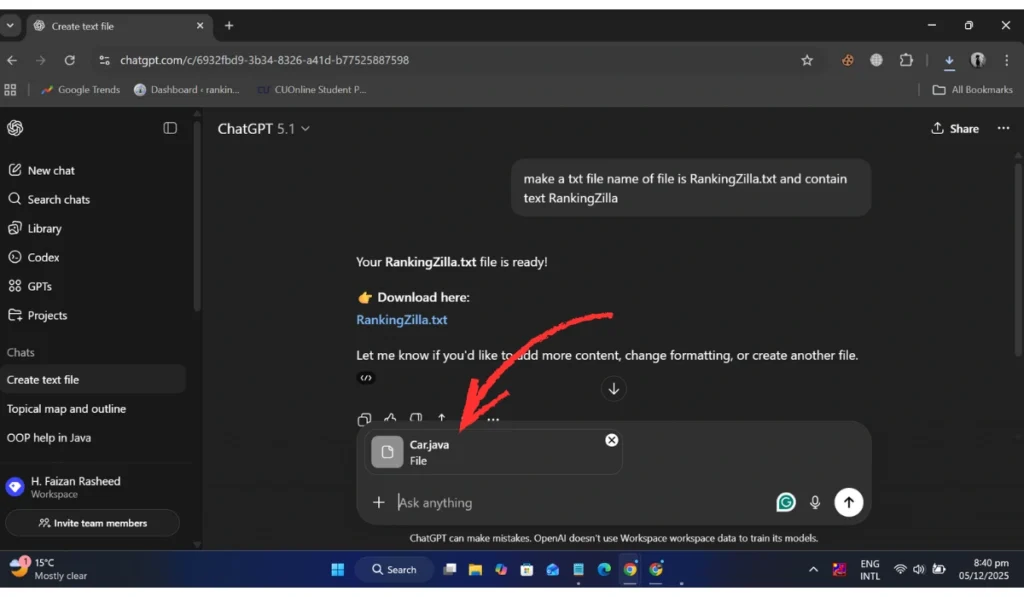
A tiny file helps you see if the system can read any upload at all. This checks the upload parser, the network adapter, and the cloud server. If the small file works, the main file may be too large or too complex.
Here’s how you can test it in just a few seconds:
- Create a small TXT file
- Upload it to ChatGPT
- Watch for the same message
- If it works, reduce your main file
Fix 4: Use a Supported File Format
ChatGPT has strict rules for file types. Unsupported formats confuse the MIME type validator. When this happens, the server cannot confirm the upload status.
You can perform the following steps to choose a correct format:
- Check the file extension
- Save a clean version
- Convert it to PDF, TXT, DOCX, PNG, or CSV
- Remove encryption
- Upload again
Fix 5: Clear Browser Cache and Cookies
Old cache or broken cookies can interrupt the upload pipeline. Your browser may try to use stale session data, and ChatGPT cannot match it with your file status. A quick clear-out fixes this in many cases.
Below are the steps that will guide you to clear your cache:
- Open browser settings
- Choose privacy or history
- Select clear browsing data
- Check cache and cookies
- Clear them
- Restart the browser
- Try uploading again
Fix 6: Turn Off VPN or Proxy

A VPN or proxy can redirect or slow the path to api.openai.com. When the route changes, the upload request may time out. Turning off these tools gives your device a direct link to the server.
In many cases, you only need to disable the VPN or remove the proxy. Once you do that, the upload often works again because your network traffic follows a clean path.
Steps if needed:
- Turn off VPN
- Remove proxy settings
- Restart browser
- Reupload the file
Fix 7: Reduce the File Size
Large files can hit size limits or tokenization limits. When the server cannot process the file fast enough, it fails to confirm the upload status. A smaller file avoids this.
Follow these easy instructions to reduce the file size without confusion:
- Compress the file
- Remove heavy images
- Split large PDFs
- Save a lighter version
- Upload one part at a time
Fix 8: Try a Different Browser or Device
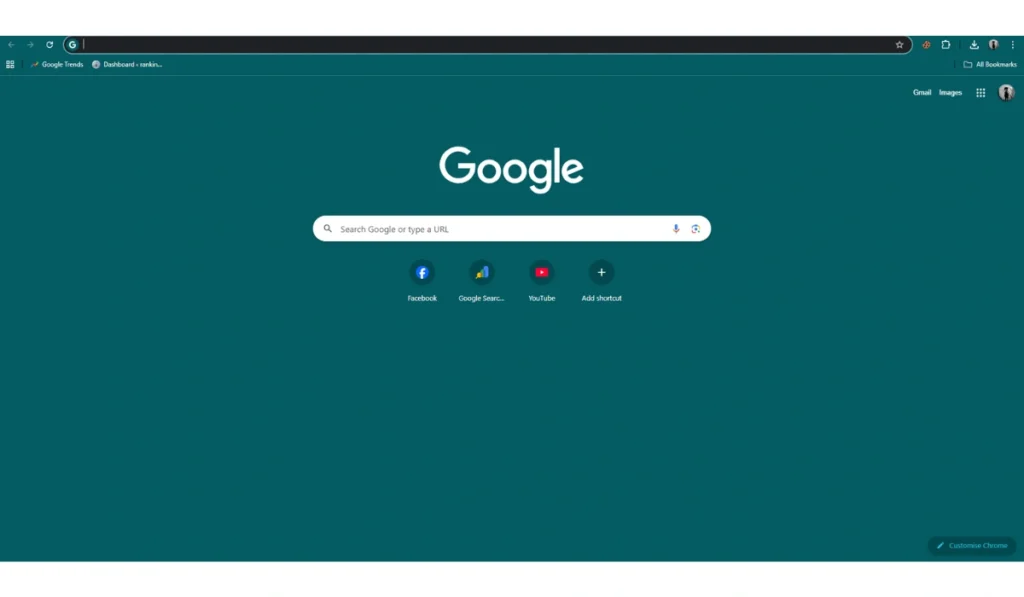
Some browsers block certain upload requests. Others have broken extensions or security rules. Testing a different browser helps you see if the issue comes from your device and not ChatGPT.
No steps needed here. Just try Chrome, Firefox, Safari, Edge, or your phone. If one works and the other fails, the problem sits in your first browser’s settings.
Fix 9: Update Your DNS Settings
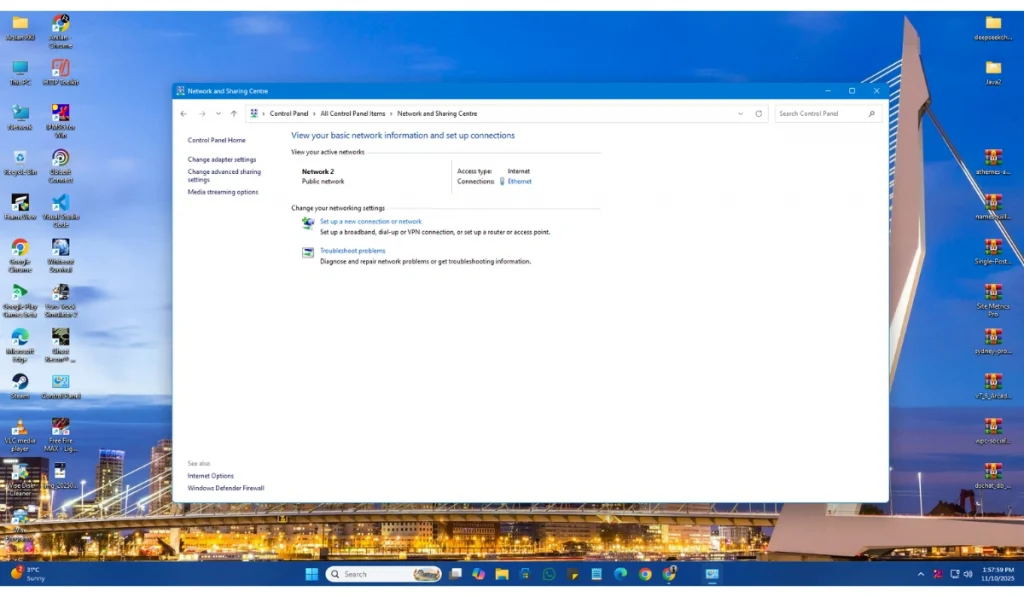
DNS servers translate website names into IP addresses. When your DNS is slow or incorrect, your device cannot reach the upload status endpoint. A simple DNS switch often fixes the upload issue.
Perform the following steps carefully to change DNS:
- Open network settings
- Find DNS settings
- Set Google DNS 8.8.8.8 or Cloudflare 1.1.1.1
- Save changes
- Restart your device
- Try uploading again
Fix 10: Test the OpenAI API Upload (Advanced Users)
If you use the API, the Files endpoint gives more details than the ChatGPT interface. It shows JSON errors that explain the exact problem. This helps identify issues with file size, MIME type, or network routing.
Steps:
- Install the OpenAI SDK
- Use the files upload endpoint
- Add your API key
- Upload a tiny file first
- Read the JSON output
- Fix any errors
- Try again with your real file
Fix 11: Wait for Server Load to Settle or Contact Support
Sometimes the issue comes from the OpenAI server itself. When the upload status endpoint is busy or under load, uploads may fail. Waiting a little can solve it. If nothing works, reach out to OpenAI Support.
You only need to wait or send a support request. Explain what file you tried, the size, your browser, and any logs you have. This helps the support team see if something is wrong with the upload service.
Prevention Tips to Avoid ChatGPT Errors in the Future
These simple tips help you to avoid this error in the future:
- Update your browser and system often
- Restart your router once a week
- Avoid VPNs when sending larger files
- Keep your files clean and uncorrupted
- Keep file sizes moderate for smooth tokenization
- Refresh your ChatGPT login session every day
- Use the OpenAI API for batch uploads or large datasets
Conclusion
In short, this error appears when ChatGPT cannot confirm that your uploaded file reached the server. It often connects to network issues, file problems, blocked routes, or session errors.
You can fix it by checking your connection, changing the file format, reducing the file size, clearing your cache, or trying an API upload. If the issue keeps occurring, contact OpenAI Support for further assistance.
If this guide helped you, comment below and share it with others who may face the same error.