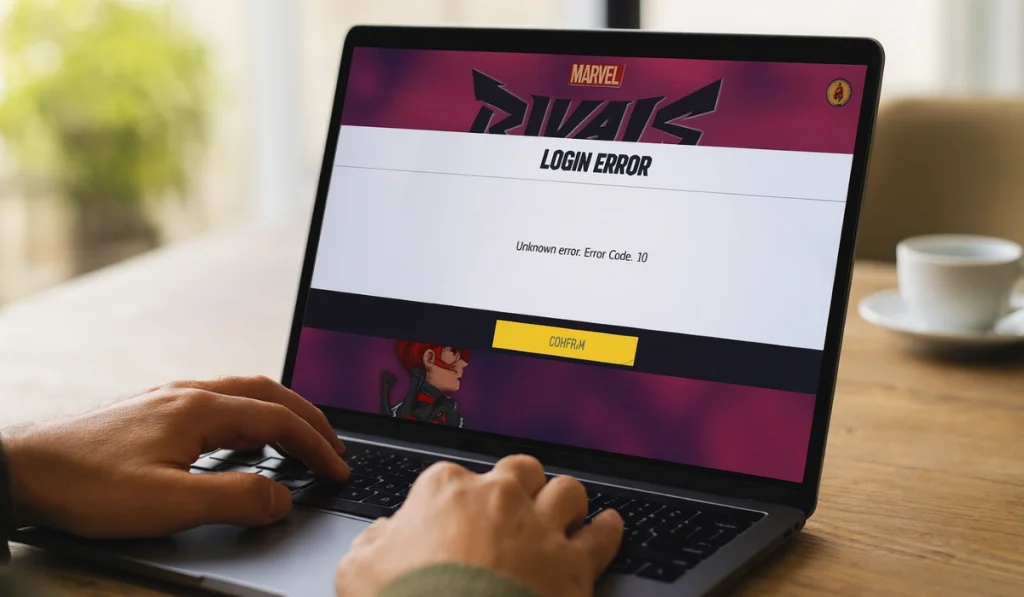
If you’re trying to play Marvel Rivals and suddenly see Error Code 10, it can be frustrating because I also faced this issue before. This error stops the game from launching or connecting to servers, leaving you stuck on the loading screen. The good news is that it’s usually easy to fix. In this article, you’ll learn what this error means, why it happens, and how you can stop it from coming back.
What is Marvel Rivals Error Code 10?
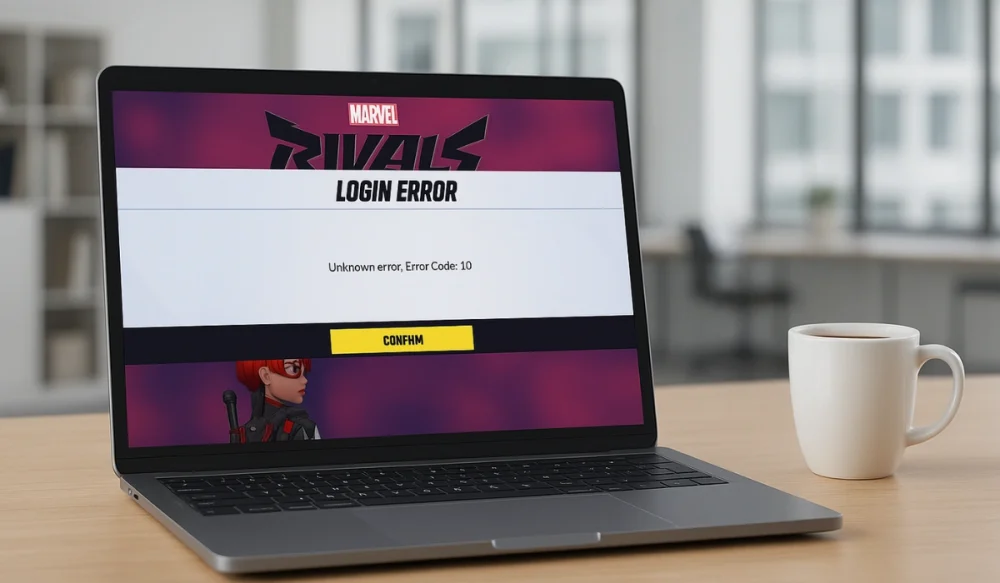
Error Code 10 in Marvel Rivals means your computer or console can’t connect correctly to the game’s online servers. It indicates an issue that has occurred with the connection between your device and the Marvel Rivals network. The problem may be caused by your computer settings, the game launcher, or a temporary server issue on NetEase’s side.
This error usually appears on the Marvel Rivals launch screen or after logging into your account through Steam or the Epic Games Launcher. You may see a short message like “Connection Failed – Error Code 10.” It often shows up before you reach the main menu or matchmaking screen.
Common Causes of Marvel Rivals Error Code 10
Before fixing this issue, let’s understand some common reasons behind this error. Several minor problems can trigger this error. They may seem random, but most are related to how your system connects to the Marvel Rivals servers. Here are some main reasons that I sorted for you:
- Outdated graphics or network drivers from NVIDIA, AMD, or Intel.
- Corrupted or missing game files after an update or interrupted installation.
- Windows Firewall or antivirus is blocking the Marvel Rivals launcher or NetEase servers.
- Unstable Wi-Fi, poor signal, or slow internet connection.
- Using a VPN or proxy service that interferes with the login server.
- Network settings problems, such as incorrect DNS or IP configuration.
- NetEase is performing maintenance, which may result in temporary downtime of our servers.
How to Fix Marvel Rivals Error Code 10?
Fixing the Marvel Rivals error code 10 is so easy if you follow my guide. There are several ways to solve this issue. However, I’ve sorted and listed some practical and working solutions for you, so try these fixes one by one.
Fix #1: Check Marvel Rivals Server Status
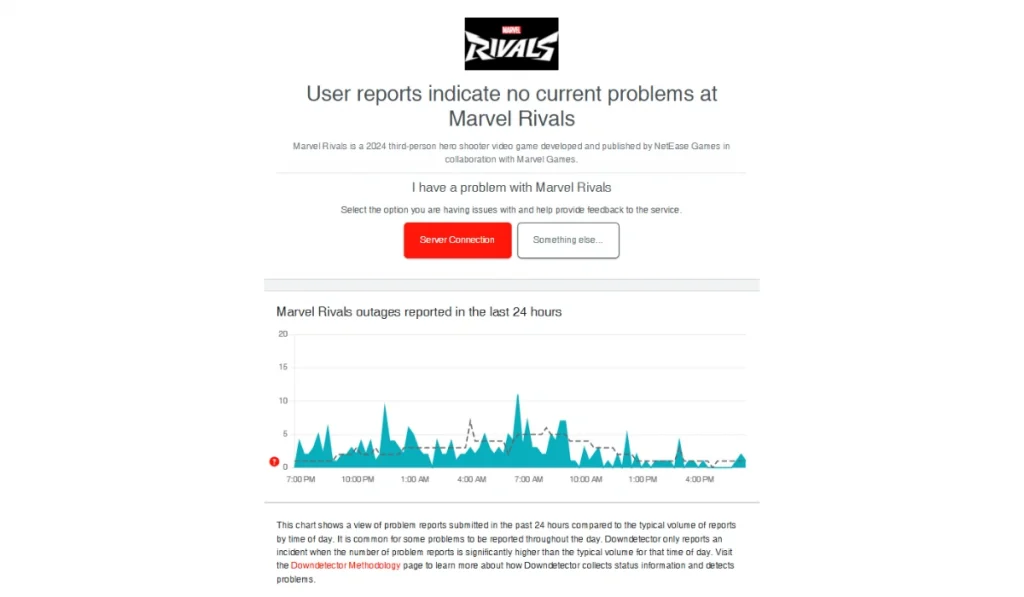
Sometimes, the issue is not related to your side, but it’s the server that is the main reason behind this issue. When NetEase Games servers go down for maintenance or updates, the Marvel Rivals client can’t log in or verify your account, showing Error Code 10.
When the servers are back online, the game automatically reconnects, and the error disappears.
Before changing your settings, please check the server status on Downdetector or the official Marvel Rivals Twitter/X /X account or NetEase server page for the latest updates. You can also visit community forums, such as Reddit or the official Discord, to confirm if others are experiencing the same issue.
Fix #2: Restart Your Game and PC

This might sound too simple, but restarting clears temporary memory and resets blocked network sessions that may cause connection failure. Sometimes, the launcher or a background service gets stuck, and restarting breaks that loop.
After the restart, your system starts clean, allowing the Marvel Rivals launcher to connect correctly.
Try this first because it helps some users:
- Close Marvel Rivals completely.
- Restart your PC or console.
- Open your game launcher again and run the game.
This alone fixes Error Code 10 for many players.
Fix #3: Verify Game Files on Steam or Epic Games
If a file becomes corrupted or is not installed correctly, the launcher may not sync with NetEase servers. This verification feature checks for missing or damaged files and automatically replaces them.
Once it’s done, your game files return to their original state, and the game runs smoothly again.
Here’s how you can check your files:
- Open your Steam Library or Epic Games Launcher.
- Find Marvel Rivals, right-click it, and choose Properties.
- Select Installed Files or Manage.
- Click on “Verify integrity of game files” or“Verify“.
- Wait for the check to finish.
- Then relaunch the game.
Fix #4: Update Your Graphics and Network Drivers
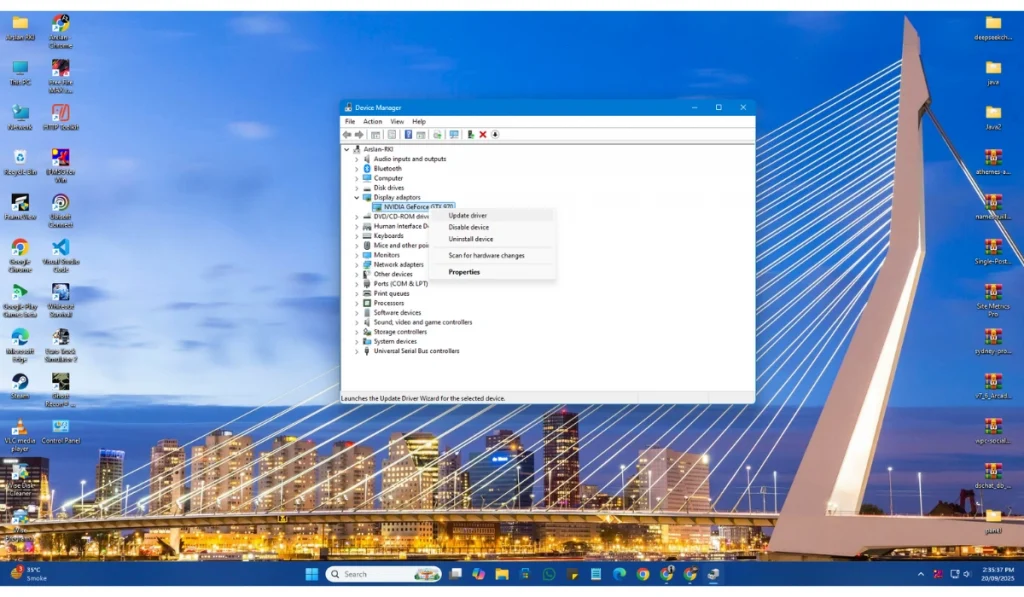
Outdated or buggy drivers can cause network packet loss, crashes, and startup issues. These drivers instruct your hardware on how to communicate with the game. If they’re old or broken, Error Code 10 may be appear.
After you update them, your system communicates more effectively with both the GPU and network adapter, resulting in improved performance and enhanced connection stability.
This fix works for some gamers. Here are the steps to update:
- Right-click Start and open Device Manager.
- Expand Display adapters and Network adapters.
- Right-click each device and select‘Update driver‘.
- Let Windows search automatically, or visit the websites of NVIDIA, AMD, or Intel for the latest drivers.
- Restart your computer.
Fix #5: Disable VPN or Proxy Connections

VPNs and proxies reroute your internet traffic. That can confuse NetEase’s region-based authentication servers and cause login issues.
After disabling the VPN, your connection routes directly to the nearest Marvel Rivals server, usually fixing the error quickly.
If you’re using a VPN or proxy, turn it off and connect through your normal home network. Then restart the game and test again.
Fix #6: Reset Your Network Settings

Sometimes, your system’s network stack becomes confused due to software changes or incorrect DNS data. Resetting it rebuilds everything from scratch and clears any broken configurations.
Once reset, your computer connects cleanly to NetEase servers without confusion or errors.
To refresh your connection, follow these steps:
- Press Windows + S and type Command Prompt.
- Right-click it and choose Run as administrator.
- Enter these commands one at a time:
- netsh winsock reset
- ipconfig /release
- ipconfig /renew
- ipconfig /flushdns
- Restart your PC.
Fix #7: Temporarily Disable Firewall or Antivirus
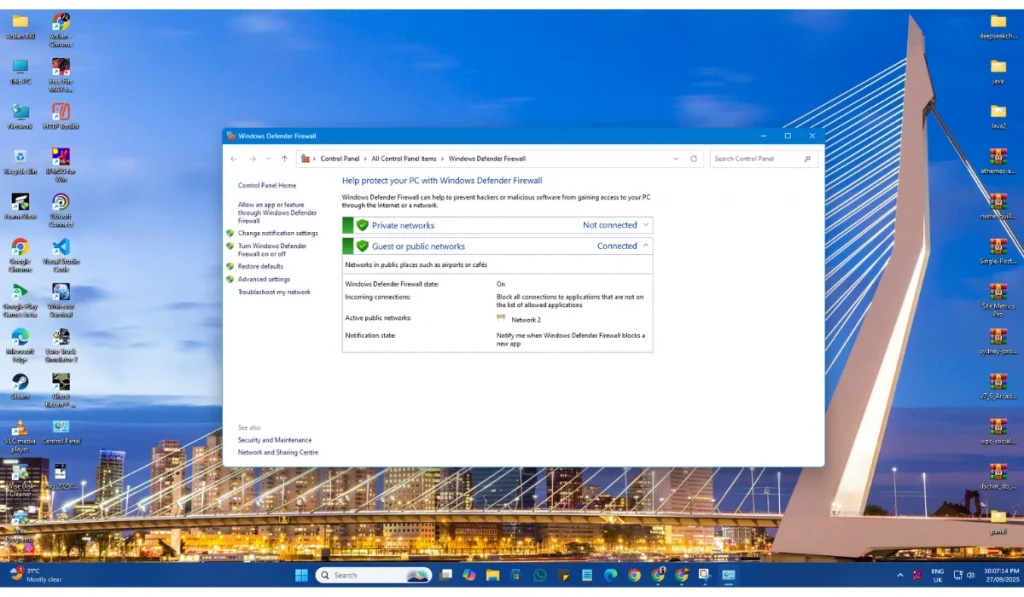
Your firewall or antivirus software might consider Marvel Rivals unsafe and block its traffic. This happens often with new or frequently updated games.
Once you temporarily turn off these protections or allow the game, it can communicate freely with the servers.
To test it:
- Open your antivirus or firewall software.
- Pause protection for a few minutes or create an exception for Marvel Rivals.exe.
- Relaunch the Marvel Rival to check if the error has been resolved.
- Don’t forget to re-enable your protection afterward.
Fix #8: Reinstall Microsoft Visual C++ and DirectX
Games like Marvel Rivals rely on Microsoft’s runtime libraries to run. If those files get corrupted, you’ll face launch or connection issues, including Error Code 10.
Reinstalling both fixes missing or outdated components, letting the game run its scripts and graphics processes properly.
Here are the steps to do it:
- Visit the Microsoft support website.
- Download the latest Visual C++ Redistributable packages (both x64 and x86).
- Install them and restart your system.
- Next, download the DirectX End-User Runtime Web Installer and install it too.
- Try relaunching Marvel Rivals.
Fix #9: Run Marvel Rivals as Administrator
Games sometimes need higher permissions to access system folders or registry keys. If you’re not running the game with administrator rights, it may not be able to access essential files, leading to Error Code 10.
Once run as admin, Marvel Rivals gains full access to your PC’s resources, reducing permission-related failures.
To do this:
- Right-click the Marvel Rivals shortcut or .exe file.
- Choose Properties → Compatibility.
- Tick Run this program as an administrator.
- Click Apply, then start the game.
Fix #10: Reinstall Marvel Rivals Completely
If nothing else works, your installation might be too damaged. A clean reinstall replaces all game files, clears the cache, and ensures a stable connection.
After reinstalling, the game launches fresh, and the connection errors usually disappear.
Here’s how:
- Uninstall Marvel Rivals from Steam or Epic Games.
- Delete any leftover folders in the Documents or Program Files folders.
- Restart your PC.
- Download and reinstall the game.
Advanced Fixes to Try if the Error Still Persists
If the error still appears on your device, then you can try these advanced fixes:
- Flush DNS Cache: Open Command Prompt on your device and type ipconfig /flushdns.
- Change DNS to Google DNS: Use 8.8.8.8 and 8.8.4.4 for more reliable connections.
- Update Windows: Install the latest Windows updates to patch network and driver issues.
- Close Background Apps: Stop downloaders or streaming apps that eat up bandwidth.
Prevention Tips to Avoid Marvel Errors in the Future
It’s better to avoid the error altogether than deal with it again. A few simple steps can keep your setup stable and reduce future problems.
- Keep your GPU and network drivers up to date through the software provided by NVIDIA, AMD, or Intel.
- Restart your router weekly to refresh your network connection.
- Don’t use VPNs or proxy connections when playing Marvel Rivals.
- Run the game as an administrator to give it full access.
- Add Marvel Rivals as an allowed app in your antivirus and firewall.
- Close background apps, such as browsers or streaming apps.
- Regularly check for Windows updates to maintain system stability and security.
Conclusion
Error Code 10 in Marvel Rivals means your system or network isn’t connecting properly to the game servers. Driver problems, corrupted files, or temporary server issues usually cause it.
Following the steps in this guide can fix most cases quickly. If you still encounter the error after trying everything, please get in touch with Marvel Rivals or NetEase Support for direct assistance. Keep your system updated, maintain a steady internet connection, and check for official game patches. This will prevent errors in the future and allow you to enjoy your matches uninterrupted.
If this guide has been helpful to you, please share it with others who may be facing the same issue. And if you find another fix that works, drop a comment below; your tip could help someone.